
 By Starter Flipping Team
Last updated: October 24, 2026
Quick answer: a repair estimate for a house flip is usually built from a room-by-room scope of work, then checked against contractor bids and a separate contingency budget. The cleanest method is to walk the property, write a scope of work, price materials and labor line by line, then add a contingency budget before you make an offer.
Key takeaways
- Start with a room-by-room scope of work, not a gut feeling.
- Use a home inspector or contractor to catch the defects you cannot see from the listing photos.
- Separate material cost from labor cost so a bid comparison is fair.
- Add a contingency buffer for the unknowns hidden behind walls, under floors, and in the attic.
- The estimate is only useful if it is tied to the exact finish level you plan to buy and install.
How to Estimate Repair Costs on a House Flip: first, build the repair estimate from a scope of work
A repair estimate for a house flip starts with a scope of work that names every repair, finish, and replacement item in the house. Without that list, you are guessing, and guesswork gets expensive fast.
The scope of work is the foundation because it turns a vague “needs updating” into a line-by-line plan. For a flip, that usually means listing the roof, exterior paint, windows, plumbing fixtures, electrical updates, kitchen cabinets, counters, flooring, interior paint, trim, baths, and any structural or water-damage repairs. If the house needs only cosmetic work, the list may stay short. If it has older systems, the list grows quickly.
A useful scope is specific enough that a contractor can price it without filling in blanks. “Replace kitchen” is too loose. “Install 10 linear feet of base cabinets, 8 feet of upper cabinets, laminate counters, a single-bowl sink, and a midrange faucet” is priceable. The same rule applies to flooring, tile, and paint. Finish level matters more than beginners expect.
If you want one sentence to keep in mind, use this: estimate the work you can see, then write down the work you suspect is hiding. That second list is what keeps a flip from blowing up later.
For a broader framework on the deal itself, the hub article on [what is house flipping] can sit above this page, but the repair estimate should stand on its own.
How do you estimate renovation costs before buying?
You estimate renovation costs before buying by walking the house, measuring the visible work, pricing each trade, and then checking the numbers against at least one contractor bid. That is the simplest process that still catches most beginner mistakes.
Use this order:
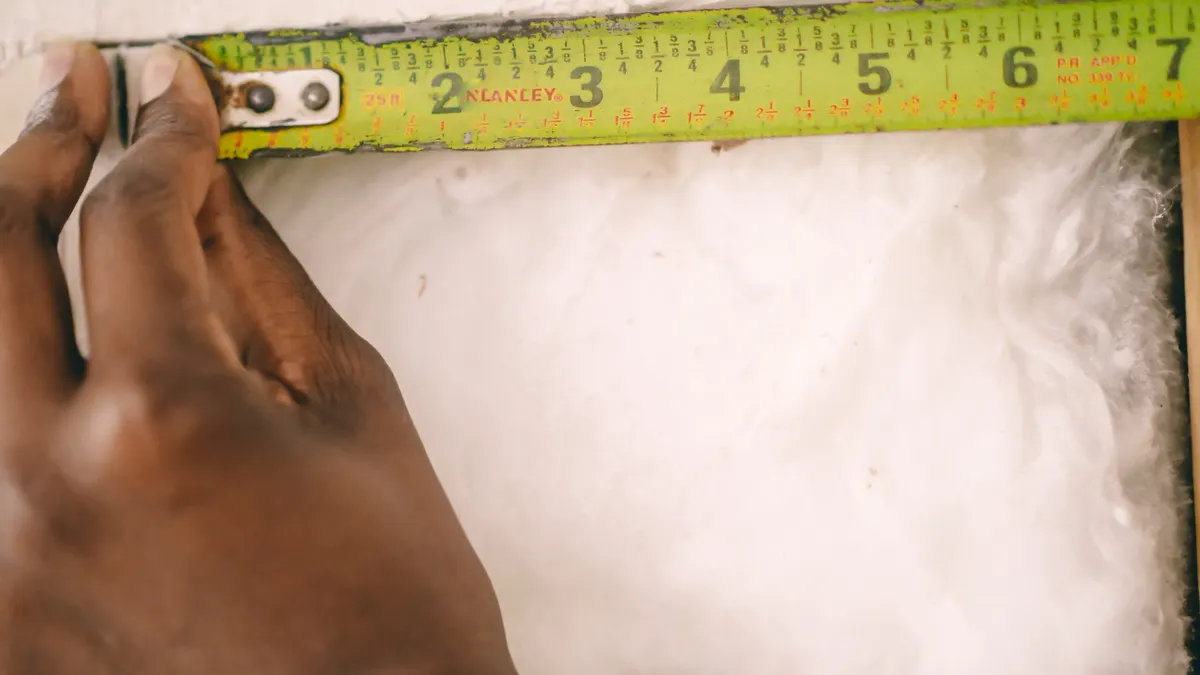
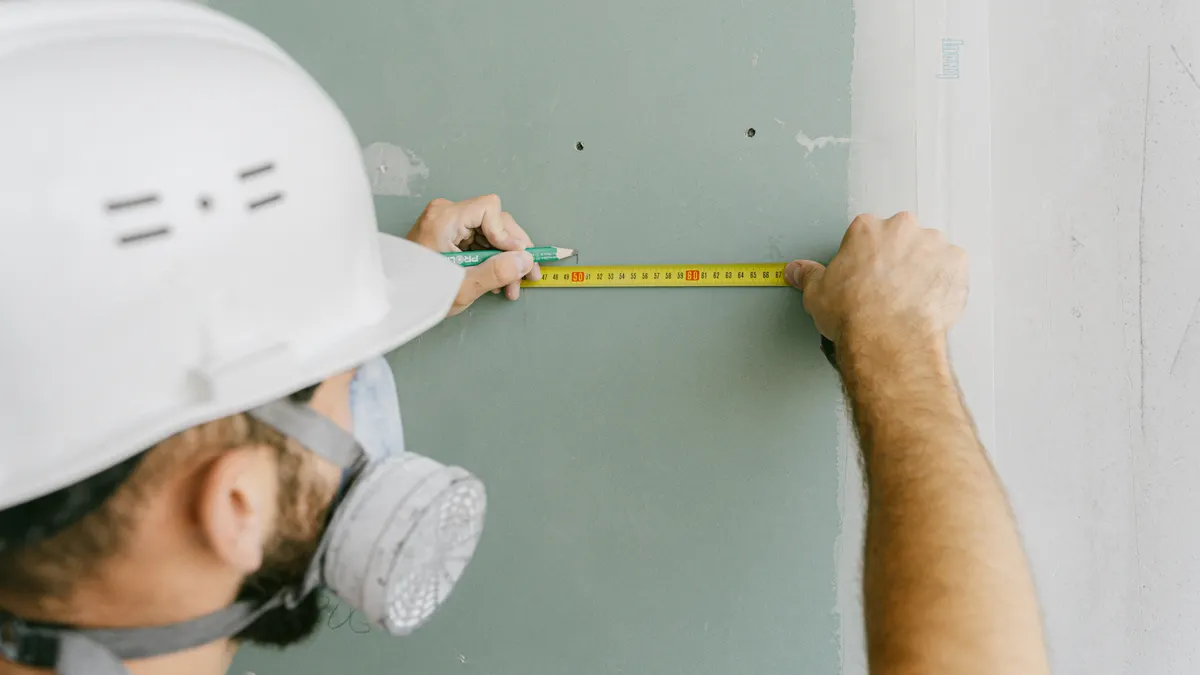
- Bring a notebook, tape measure, flashlight, and phone camera. Measure key areas like kitchen walls, bathroom floors, and flooring square footage, and take photos of every defect. When this works, you leave with room dimensions, not just impressions.
- Write a room-by-room checklist. Include exterior, roof, HVAC, plumbing, electrical, kitchen, baths, flooring, paint, trim, doors, and cleanup. When this works, no area is left unpriced because you forgot it.
- Separate must-fix items from cosmetic upgrades. A failed water heater or active leak goes in the must-fix column; a designer light fixture goes in the upgrade column. When this works, the estimate reflects the true risk of the property.
- Price materials first. Pull retail numbers for cabinets, flooring, tile, paint, fixtures, and appliances from actual stores or supplier quotes. When this works, you can see whether the project lives in a bargain, midrange, or premium finish level.
- Estimate labor by trade. Ask a contractor, handyman, or trade pro for rough labor ranges for demo, carpentry, plumbing, electrical, drywall, tile, and paint. When this works, each line has a labor figure instead of one mysterious lump sum.
- Add a contingency budget. Put 10% to 20% on top of the visible repairs if the house is straightforward, and use a larger buffer when age, condition, or access makes surprises more likely. When this works, the estimate can absorb a hidden surprise without killing the deal.
The point is not precision to the dollar. The point is to build a number that is honest enough to protect your offer. If your estimate depends on “probably fine,” it is not ready.
What should be on a walkthrough checklist?

A walkthrough checklist should cover every system that can change the rehab cost by four figures or more. That means you are looking for water, structure, power, heat, and finishes, not just ugly rooms.
Start outside, then move inside in a fixed order. Outside, inspect the roofline, gutters, fascia, siding, foundation cracks, grading, windows, exterior doors, driveway, and any visible rot. Inside, check ceilings for stains, floors for slope, walls for cracks, outlets for dead circuits, and bathrooms for signs of old leaks. In the kitchen, look at cabinet condition, counters, sink plumbing, and appliance hookups. In the basement or crawlspace, look for moisture, mold, standing water, exposed wiring, and damaged joists.
A home inspector is useful here because a standard inspection can identify defects that a quick buyer walk-through misses. That does not mean the inspector gives you a rehab budget. It means the report helps you avoid missing items that can turn a $15,000 cosmetic project into a much larger one. The inspection is a filter, not a quote.
This is also where beginners miss the difference between visible damage and likely hidden damage. A small ceiling stain may mean a simple patch, or it may mean roofing, insulation, and drywall replacement. You cannot know without confirming the source. Write the visible symptom and budget the likely cause separately if the evidence points that way.
If you are unsure what to prioritize, ask the question in this order: “What will prevent resale?” then “What will fail inspection?” then “What will make the house hard to finance or insure?” That sequence keeps the checklist focused on real money, not decorating.
How do you price materials and labor without overbuying?
You price materials and labor separately so you can compare bids and avoid paying for padding you never noticed. That split is the difference between a real repair estimate and a vague lump sum.
Materials are the easiest part to ground. Cabinets, flooring, tile, paint, trim, faucets, lighting, and appliances can be priced from supplier quotes, big-box pricing, or distributor sheets. The useful part is not the exact brand name; it is the finish level. A laminate countertop, for example, will sit in a very different range from quartz. The same goes for vinyl plank versus engineered hardwood. Decide the tier first, then price that tier.
Labor needs a different approach because labor varies by trade, access, region, and the amount of demo needed. A contractor may price a bathroom as a complete remodel, while a handyman might quote only the install pieces. That is why you should ask for itemized labor when possible. If one bid includes demo, haul-away, drywall, tile, paint, and trim, and another leaves out half of those items, the lower bid is not actually cheaper.
A simple way to keep the estimate honest is to create two columns for every major line: material and labor. Then ask whether the line is a direct replacement or a repair plus a downstream fix. Replacing a toilet is one thing. Replacing a toilet after water damage is another, because the subfloor may need work too. The repair estimate should reflect that chain reaction.
The trap here is buying “middle of the road” everything without matching the neighborhood. That can push your rehab cost beyond what the resale can support. A flip does not need luxury finishes everywhere. It needs finishes that look intentional and sellable.
How do you compare contractor bids on a flip?
You compare contractor bids on a flip by forcing each bid onto the same scope of work, then checking what was included, excluded, and allowed for. A lower number is useless if it leaves out demo, permits, cleanup, or trim.
Use the same written scope for every contractor. If one bidder saw the house for 20 minutes and another spent 90 minutes measuring, the better bid is usually the one tied to better information, not the cheapest one. Ask each contractor to break the work into lines such as demolition, rough carpentry, plumbing, electrical, drywall, tile, paint, and final punch list. If they use allowances, write those down too, because allowances can hide cost creep.
This is where a simple comparison sheet helps. Put each line item across the top and each bidder down the side. Then mark who included what. A bid that covers only labor is not comparable to a bid that includes materials. A bid that assumes “existing conditions unknown” is not the same as one that priced a full gut.
Also check schedule assumptions. A 2-week job and a 6-week job can carry different carrying costs, even if the trade total looks similar. If one contractor says they need to return for a second mobilization, that can add cost. Ask about change-order rates before you sign anything, because that is where small estimate errors become large bills.
For a house flip, the cheapest bid is not always the best bid. The bid that matches the scope with the fewest gaps is usually the one you can trust.
Where should the contingency budget go?
The contingency budget should sit on top of the rehab estimate, not inside it, because hidden issues are not part of the visible scope. If you bury the buffer inside every line, you cannot tell whether the project is actually over budget.
A practical contingency is a separate line reserved for things you expect might show up once work begins: rotten framing, outdated wiring, failed plumbing traps, hidden mold, extra drywall, or a subfloor repair. A house with an older roof, prior water damage, or long-term vacancy deserves a larger cushion than a lightly dated cosmetic update. The worse the access and the older the systems, the more uncertainty you should assume.
Do not use the contingency budget to make the offer look stronger than it is. That turns the buffer into false comfort. Instead, keep the base repair estimate honest and then ask whether the project still works if one or two hidden issues appear. If the answer is no, the offer is too tight.
A common beginner mistake is to set aside only a few hundred dollars for surprises on a house with obvious risk. That usually fails on the first hidden problem. Another mistake is to treat contingency as a slush fund for nicer finishes. If you are unsure how to handle the buffer, consult a licensed contractor, home inspector, or other qualified professional, because the buffer is for repairs you did not see, not for changing your mind mid-project.
The honest judgment is simple: if you cannot afford the contingency, you cannot afford the flip yet. That does not mean the deal is bad. It means the margin is too thin for the risk you are taking.
What mistakes make repair estimates blow up?
Repair estimates blow up when the scope is vague, the hidden damage is ignored, and the bid comparison is unfair. Those three errors are the usual cause, and each one has a straightforward fix.
The first mistake is under-scoping. Beginners leave out paint prep, trim, haul-away, fixtures, or minor repairs because they seem small. On paper, each item looks harmless. In the real project, they stack up. The fix is to walk every room and name every finish layer, even if the line feels minor.
The second mistake is using one number for both materials and labor. That hides where the money goes and makes it hard to compare bids. The fix is to separate the two from the start. If the cabinets cost one amount and the install another, you can tell whether the problem is product choice or installation cost.
The third mistake is trusting surface condition. Fresh paint can hide leaks. New flooring can hide bad subfloors. A finished basement can hide moisture. The fix is to budget as if the visible problem is only the first clue, then ask what system caused it.
The fourth mistake is overbuilding the finish level. A flip does not need custom everything to sell well, and buying at the wrong tier can ruin the return. The fix is to match the finish quality to the neighborhood and the resale target before you price the job.
A repair estimate is not a promise. It is a decision tool. Use it to decide whether the flip is worth pursuing, not to reassure yourself after the offer is already in.
How do you budget for repairs on a flip?
You budget for repairs on a flip by listing every visible repair, pricing materials and labor separately, and adding a contingency buffer before you commit to the property. That budget should be tied to a written scope of work, not a rough guess from photos. If the property has older systems or signs of water damage, get a contractor or home inspector involved early.
What is a scope of work in real estate?
A scope of work in real estate is the written list of repairs, replacements, and finishes you want completed. It defines exactly what gets priced and what does not, which keeps bids comparable. A good scope names the room, the task, the finish level, and any known problem areas so a contractor can quote it without guessing.
How do you estimate renovation costs?
You estimate renovation costs by measuring the rooms, identifying every trade involved, pricing materials from real product sources, and then checking the labor with contractor bids. The estimate becomes more reliable when you split cosmetic updates from structural or system repairs. A home inspector can help reveal hidden issues before they turn into budget shocks.
How much contingency should you add?
You should add a separate contingency budget for unknowns, and the size should rise with risk. A simple cosmetic project needs less cushion than a house with age, vacancy, or visible damage. Keep the contingency outside the base estimate so you can see whether the flip still works if one hidden problem appears.
Drafted with AI; not yet reviewed by a person.
